Become a Member
Hour of Code
Anyone, anywhere can host a coding class. One-hour coding lessons with no programming knowledge required.
About Hour of Code
The Hour of Code Global Initiative means organizing coding-related activities using fun lessons to show that every student can learn to code. This initiative is organized in more than 180 countries and is supported by over 400 partners and - 200,000 educators worldwide.
This year, "Kosova Code Weeks 2024", the biggest coding event for our country, will be organized for all municipalities, including all SHFMUs and SHMLs. This event aims to spark students' interest in coding and computer science.
"Kosova Code Weeks 2024" will start in September and continue until December. During these months, a multitude of activities will be organized, including: practical coding sessions, interactive discussions, presentations led by experts in the field in schools, talks on career guidance in the ICT field, etc.
See the Coding Week 2023 recap video
How to organize the Hour of Code
- Create your own plan for organizing coding activities
Choose one of the options:
1) A coding course (16.09-16.12.2024)
2) One month of coding (14.10-15.11.2024)
3) One hour of coding (09.12-13.12.2024) Explore activities and tutorials
Code.org offers a variety of fun lessons geared toward students of all ages and experience levels in coding. Find activities from the list of activities that suit your class and plan to do them in the classroom or in the ICT cabinet.
Each activity includes a lesson plan that helps teachers guide the lesson and carry out the activity.
Ways of carrying out activities:1) In the ICT cabinet using computers connected to the Internet or without Internet. If you are doing the activity with computers, create the session on Code.org and choose how students will access the session. But you don't need every student to have a computer. If you do not have enough computers in the classroom, use the pair programming method because when students work together, they help each other and rely less on the teacher.
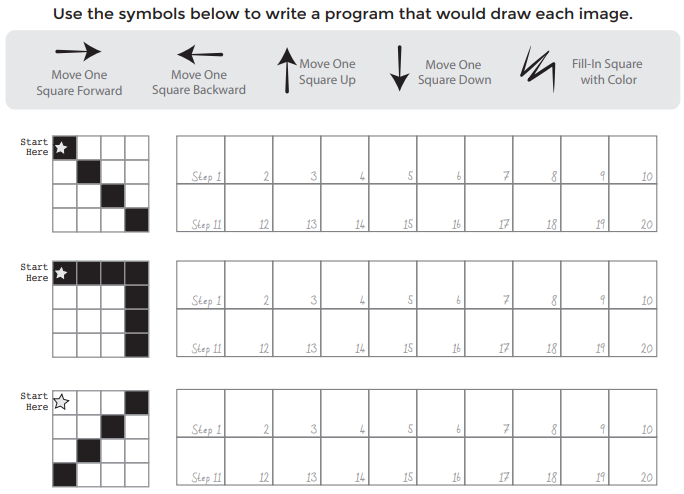
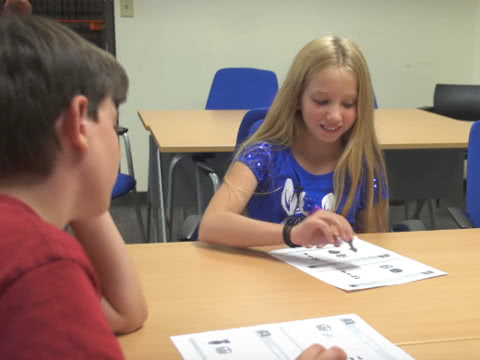
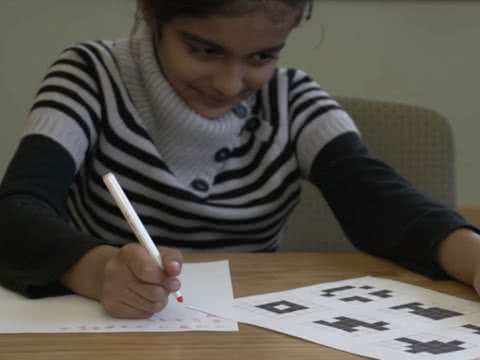
2) In class without using a computer at all! For unplugged activities, simply choose from the activities listed below and read the instructions on how to do them.
Training calendar
Session 1 | Introduction to logical, algorithmic thinking through coding activities |
Introduction to the Code.org platform | |
Session 2 | Coding Activity Lesson Plans |
(Overview/Objectives/Preparation/Standards/Agenda/Teaching Guide/Materials) | |
Sesson 3 | Session creation (class) |
Student registration | |
Sesson 4 | Classroom management (progress/projects/teamwork) |
Apply for training
SHPIK will organize various trainings that will help in the preparation and organization of activities for the month of Coding. Apply through the form by clicking on the -Apply- button.
Apply here!Video tutorials
Step 1: Open Code.org
Step 2: Click on "Identify/Login"
Step 3: Click on the "Create an Account" button
- You have several options for registration. If you are a student and want to join a coding class, then just enter the class code and join. Alternatively, you can always sign up using your email address or use your Google account for a faster process. If you choose the "Create an account" option, you must enter your email address and create a password.
Step 4: Click the "Register" button
Step 5: Complete the account creation by filling in information such as:
Account type, account name, age, etc
Class sessions allow you to:
- Manage and organize students within the classroom
- Set the curriculum for the class
- Track student progress
To create the session, follow the steps below:
Step 1: Sign in with your account
Step 2: Click on the 'Create a Session' button from your main teacher page (known as My Dashboard)
Step 3: Choose how you want your students to sign up for Code.org
Password with secret picture as password is recommended for children who are still learning to use a mouse and keyboard and may have problems with spelling, so ages 4-8.
Password with secret words is recommended for students who are familiar with the mouse and keyboard, but who do not yet have a personal email address, ie ages 9-12.
Personal email password is recommended for students who are old enough to have and manage their own personal email address, ie age 13+.
Step 4: Fill in details about your class session
- The name of the class
- School level (Primary School, Junior High School, High School)
- Course (learning material)
Step 5 - Save your session
The steps you'll take to add students to your session will differ based on the login type you've chosen for your students.
Step 1: Click the "Add Student" button
Step 2: In the "Student's name" box, write the student's name and click the "Add" button
- If you have a large number of students and have them in saved files, you can add them by clicking "Add multiple students" and then copy/paste the names separated by commas (,)
Step 3: Click "Save" or "Save All"
